Simplify Your Journey Migration Process: Save Time and Eliminate Errors
Are you spending hours configuring and testing journeys in lower instances, tweaking display settings, adjusting notifications, and adding tasks? Once your setup in development or staging is complete, the real challenge often begins when it’s time to migrate everything to production. This blog resolves these issues and migrates your journeys within seconds. It’s a simple setup of a profile option and you are done.
Traditionally, the migration process involves manual steps, which can be tedious, prone to errors, and ultimately a drain on your resources. Each step requires attention to detail, from transferring settings and configurations to ensuring that everything works as expected in the live environment. But what if there was a simpler, faster, and more reliable way to migrate your journeys to production?
Setup the profile option:
You need to create and enable a profile option: PER_CHECKLIST_IMPEXP_ENABLED
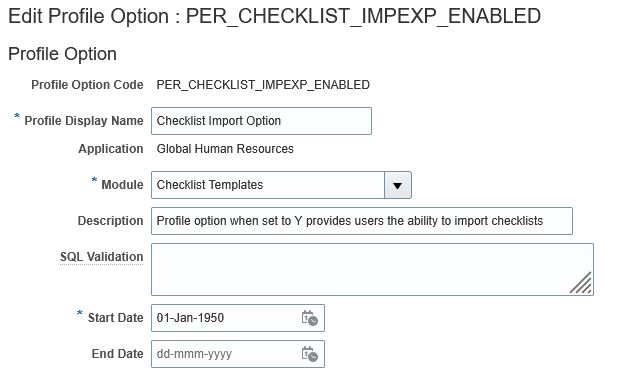
In the Setup and Maintenance work area, search for Manage Profile Options task. Select New on the Manage Profile Options page, on the Actions menu. On the Create Profile Option page:
- Complete all required fields.
- Click Save and Close.
| Field | Value |
|---|---|
| Profile Option Code | PER_CHECKLIST_IMPEXP_ENABLED |
| Profile Display Name | Checklist Import Option |
| Application | Global Human Resources |
| Module | Checklist Templates |
| Description | Provides ability to import checklist |
| Start Date | 01/01/1950 |
| End Date |
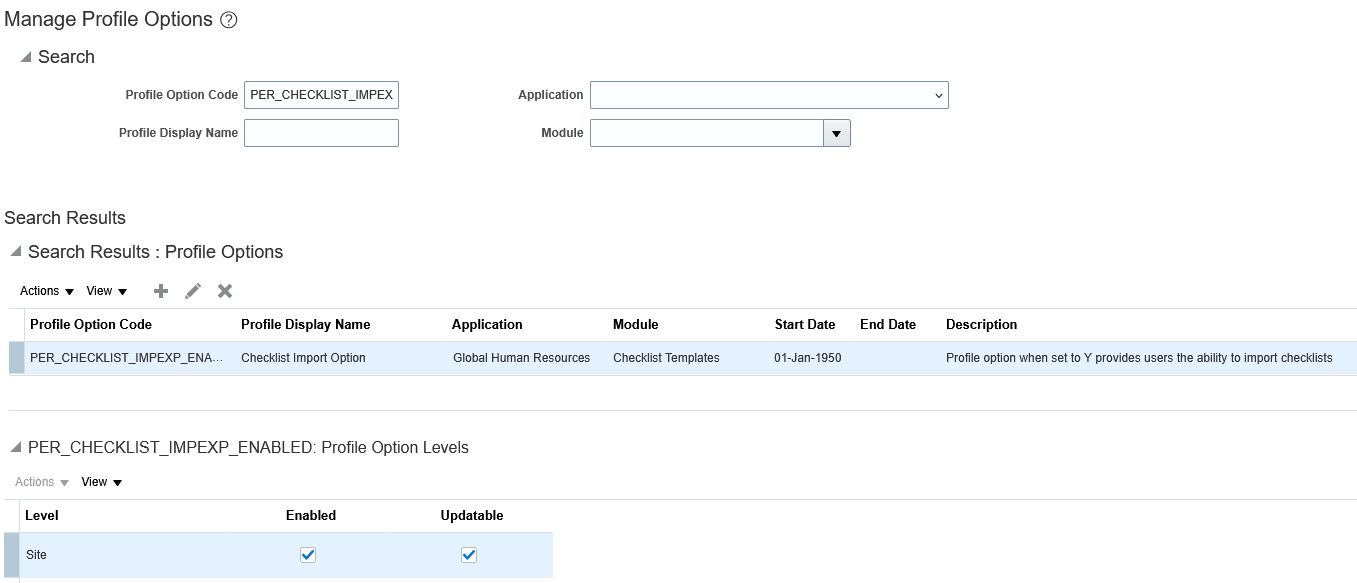
On the Manage Profile Options page, in the Profile Option Levels section, select the check box levels to enable at the profile option at the Site level:
- Select the Enabled check box, to enable the feature.
- Select the Updateable check box, to allow users update privileges.
- Click Save and Close.
NOTE: The profile values will appear in read-only mode if deselected.
To enable the profile option just created, navigate to the Setup and Maintenance work area:
- Search for and click the Manage Administrator Profile Values task.
- Search for and select the newly created profile option.
- Click to add a new Profile Value.
- Select the Level as Site.
- Enter a Y in the Profile Value field.
- Click Save and Close.
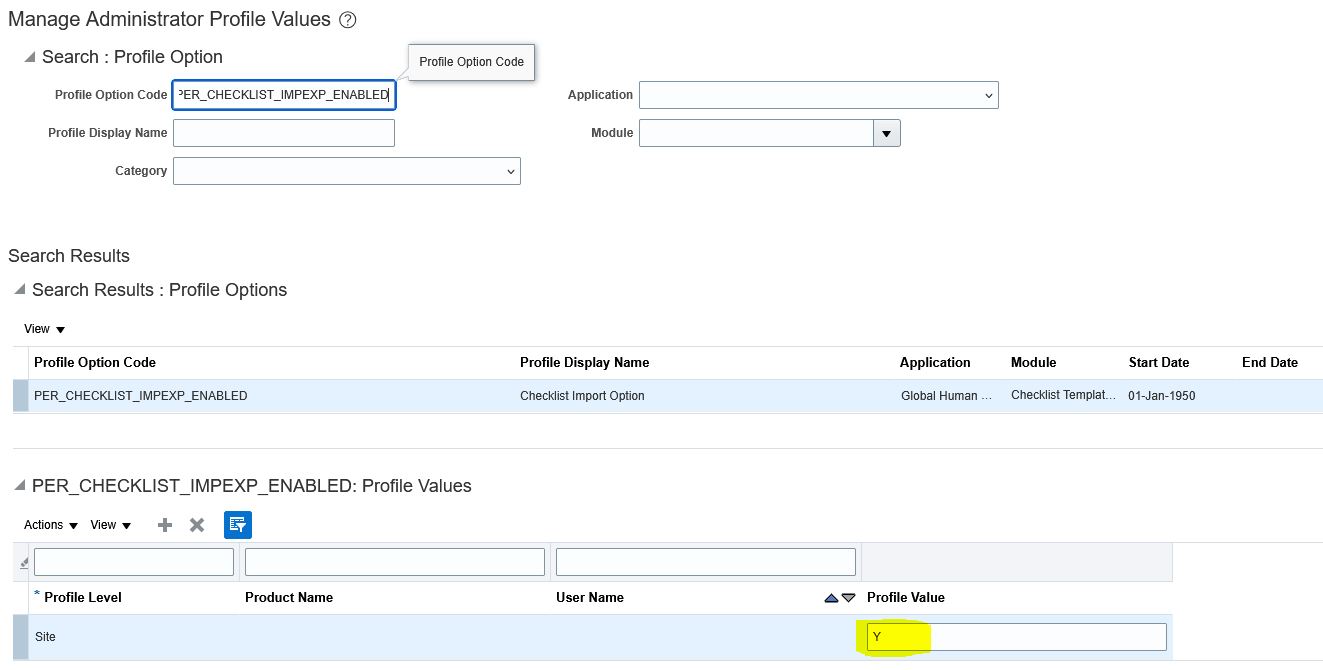
That’s it, you will now start seeing the options to export and import checklists/journeys. This is a one time setup which enables the import and export options on journeys.
Export the Journey:
- Navigate to My Client Groups >> Journeys Setup >> Journey Templates, select your journey and click on “…” to export the journey setup:
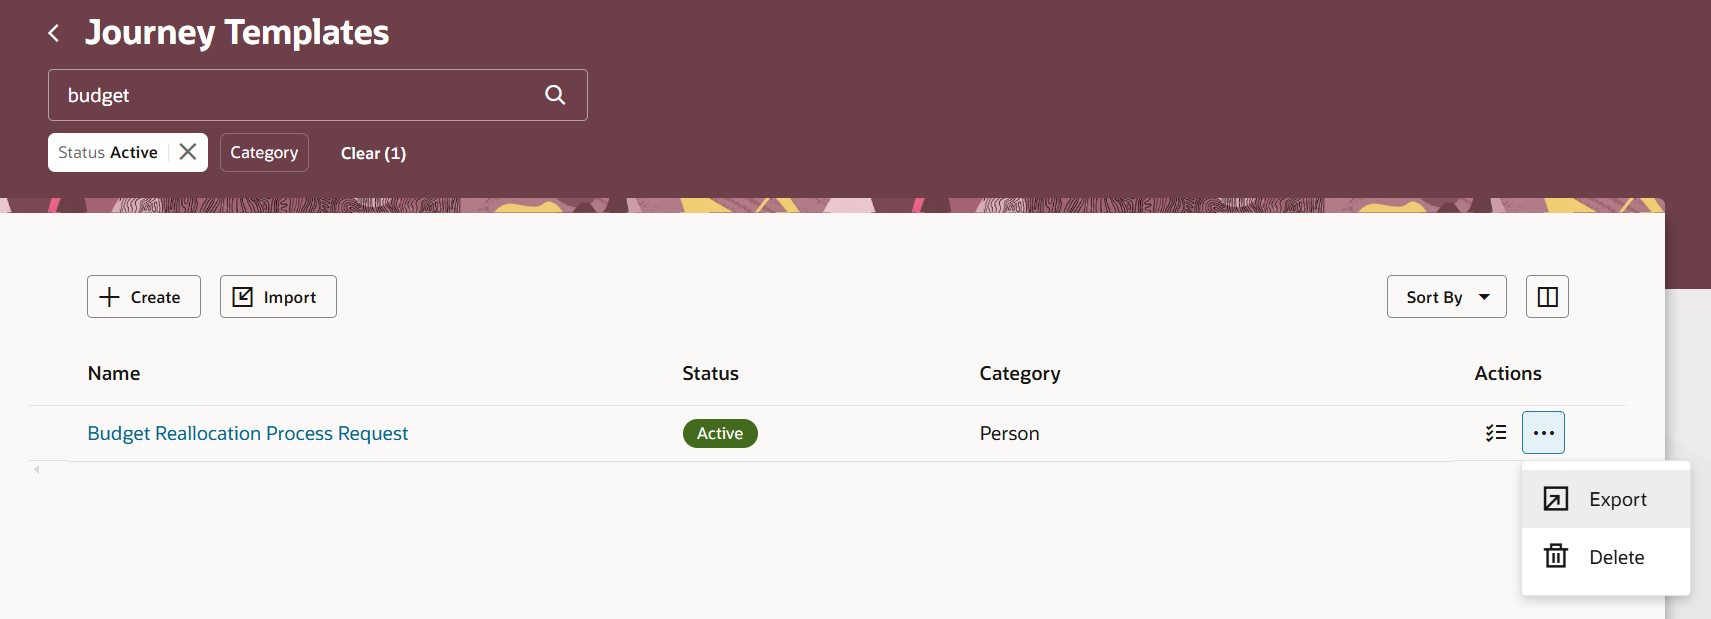
- Save the exported file in the Downloads folder.
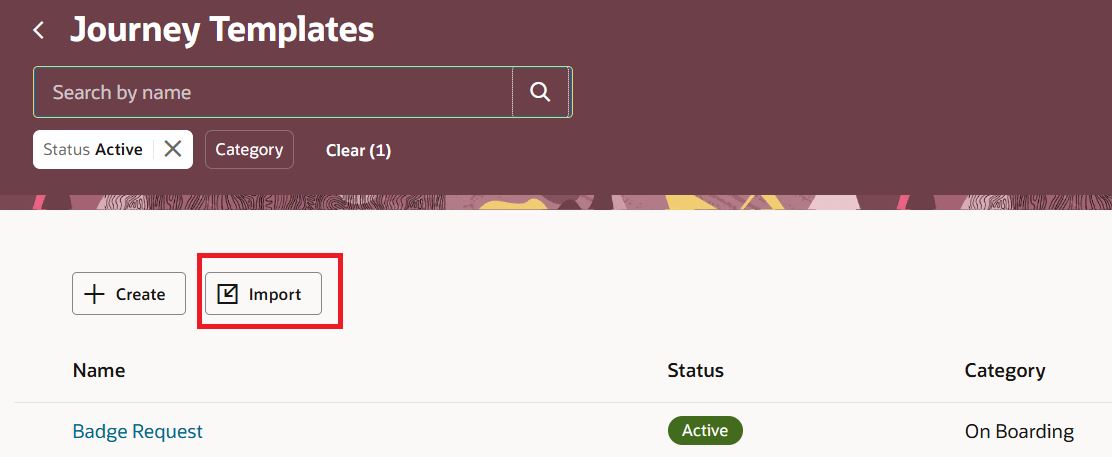
Import the Journey:
- Navigate to My Client Groups >> Journeys Setup >> Journey Templates, click the Import option in the UI.
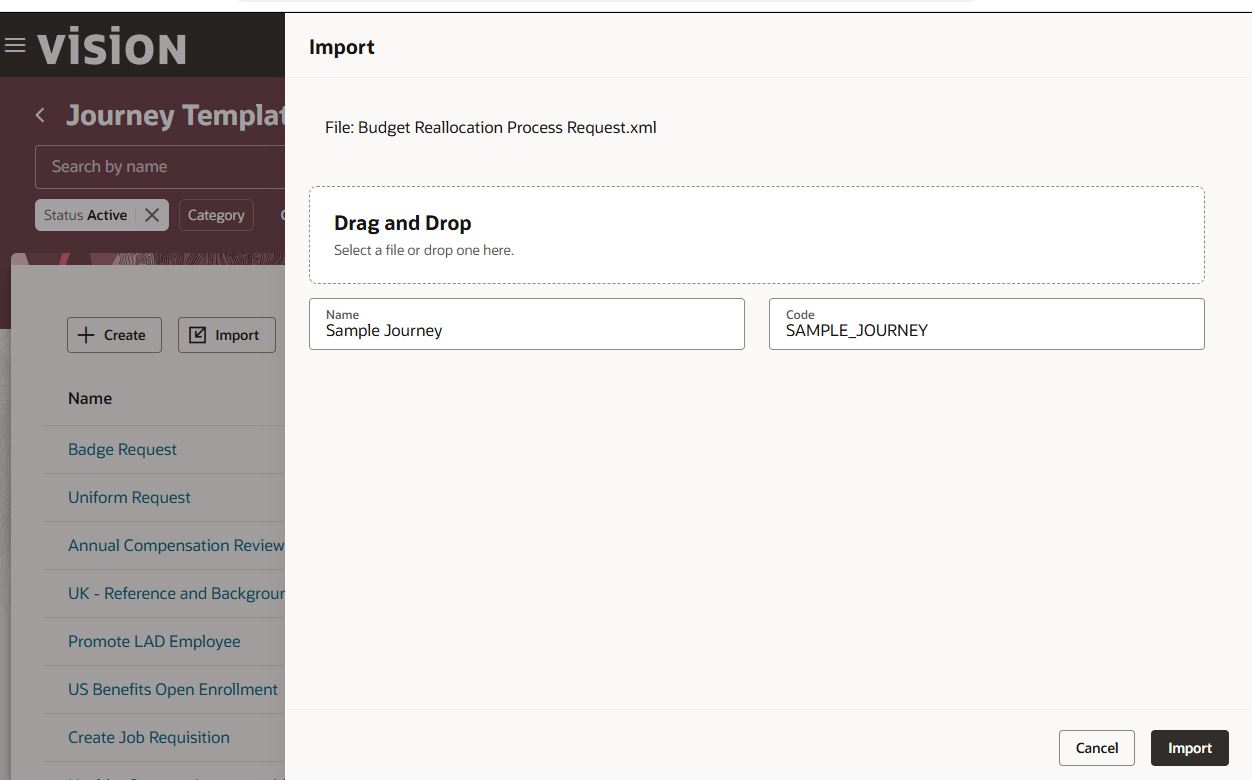
- On the next page, chose your downloaded file and provide/change the name of the journey and click on Import:
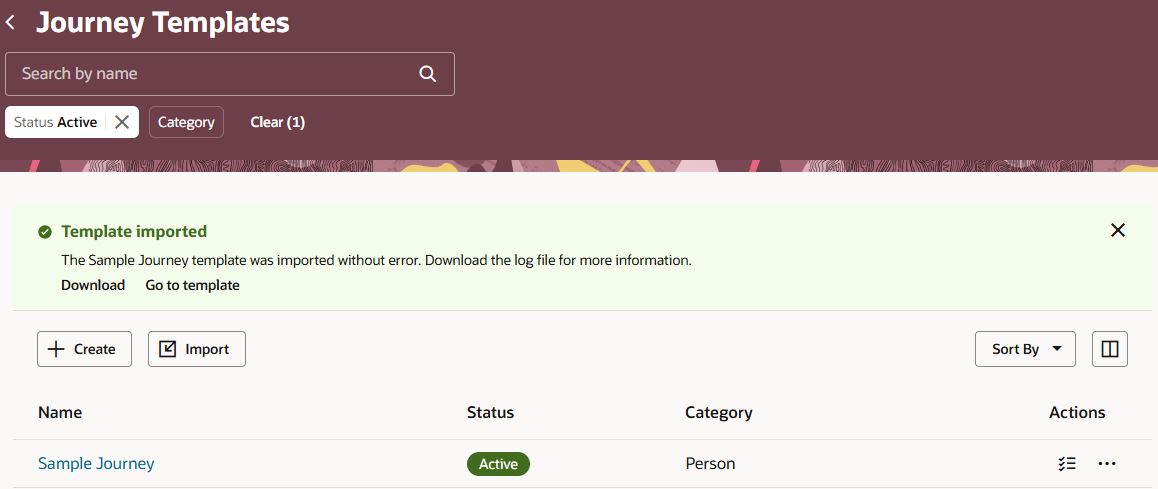
- That’s it – the journey is created and you see the message for the same:
Important Steps to Ensure a Successful Migration
When migrating journeys to production, it’s crucial to follow a few essential steps to avoid errors and ensure consistency. Here are some key points to remember:
1. Migrate Dependent Setups First
If your journey relies on other components like DFFs (Descriptive Flexfields), alert notifications, questionnaires, document types, etc., make sure to migrate those first. Migrating these components before the journey itself will prevent errors or inconsistencies during the migration process.
2. Download and Review Log Files
If you encounter an issue during the migration, download the log file to pinpoint the problem. This file will help you identify what went wrong. After addressing the issue, you can try importing the journey again.
3. Checklist Templates Migration
If you’re using “Checklist Templates,” the same import/export process applies.
4. Smooth Migration Between Checklist Templates and Journeys
The good news is that the migration process supports transferring data both from Checklist Templates to Journey setups and vice versa. This makes the overall migration process more flexible and efficient.
5. Perform a Vanity Check
Finally, once the migration is complete, perform a “vanity check.” This final review ensures that everything has been migrated properly and that all components are functioning as expected in the production environment.
By following these steps, you can avoid common migration pitfalls and ensure a smooth transition to production.